Winter Cycling, the Crazy Scandinavian way. Part 2
Rait Nurm aka Crazy Scandinavian, one of our fantastic moomoo ambassador has been pedalling through almost any weather for the last ten years. Here he is back for the 2nd part of the blog and shares his experience here of winter cycling training and covers some important aspects
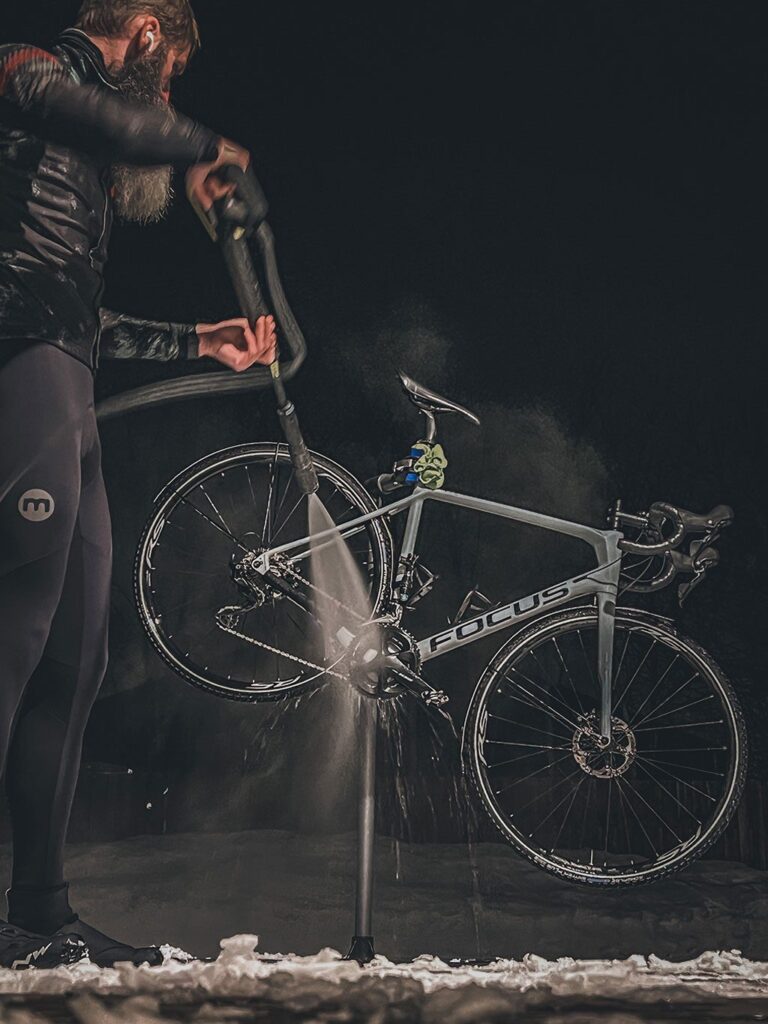
- The bike must be in good working order and the equipment (lights, telephone) must be fully charged
- Dress functionally and according to the conditions outside.
- Set up a circle near your home and you could have a loved one at hand who can come to your aid if you suddenly get too tired;
- Follow the weather forecast to adapt to changing weather conditions while riding
- Bring a hot drink and spare gloves (and outer layer)
Clothes
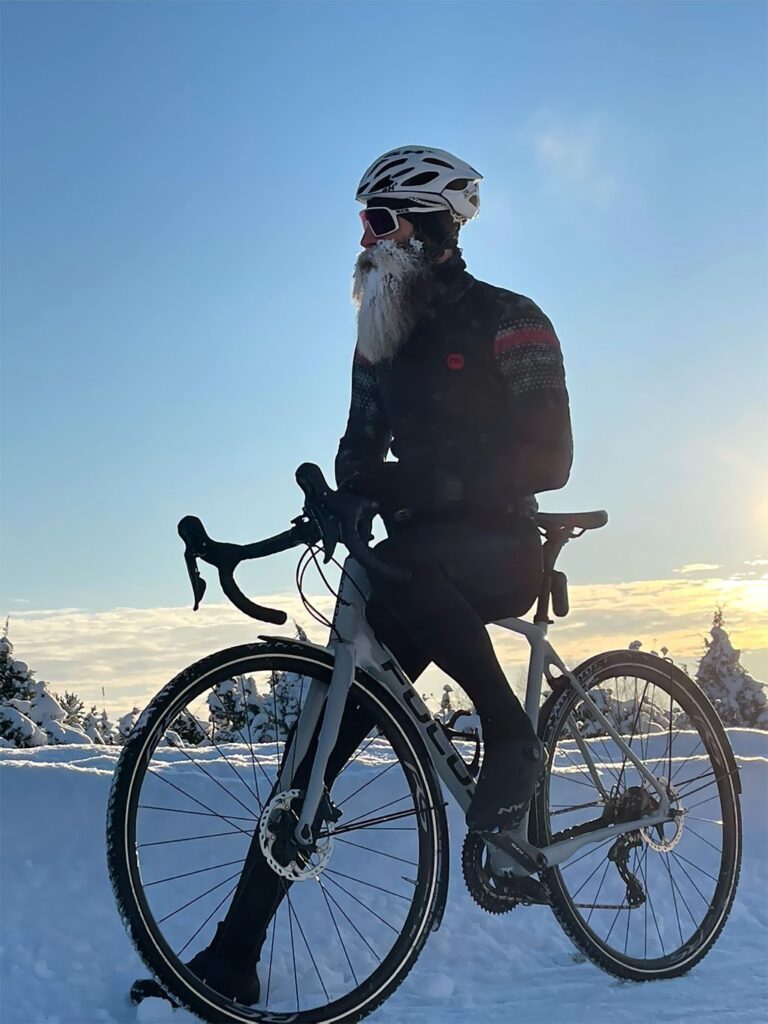
Proper and seasonal clothing is fundamentally important. Anyone who enjoys winter sports outdoors knows that rule #1 is layers. I myself follow the principle that rather less is more, so it could be a little cool to go out. If you put on clothes that are too thick, you will start to warm up quickly and your body will start to sweat. Sooner or later, the moisture will cool as it cools down, especially if left to stand still. For such cases, it would be a good idea to bring an extra layer separately, such as a vest or raincoat.


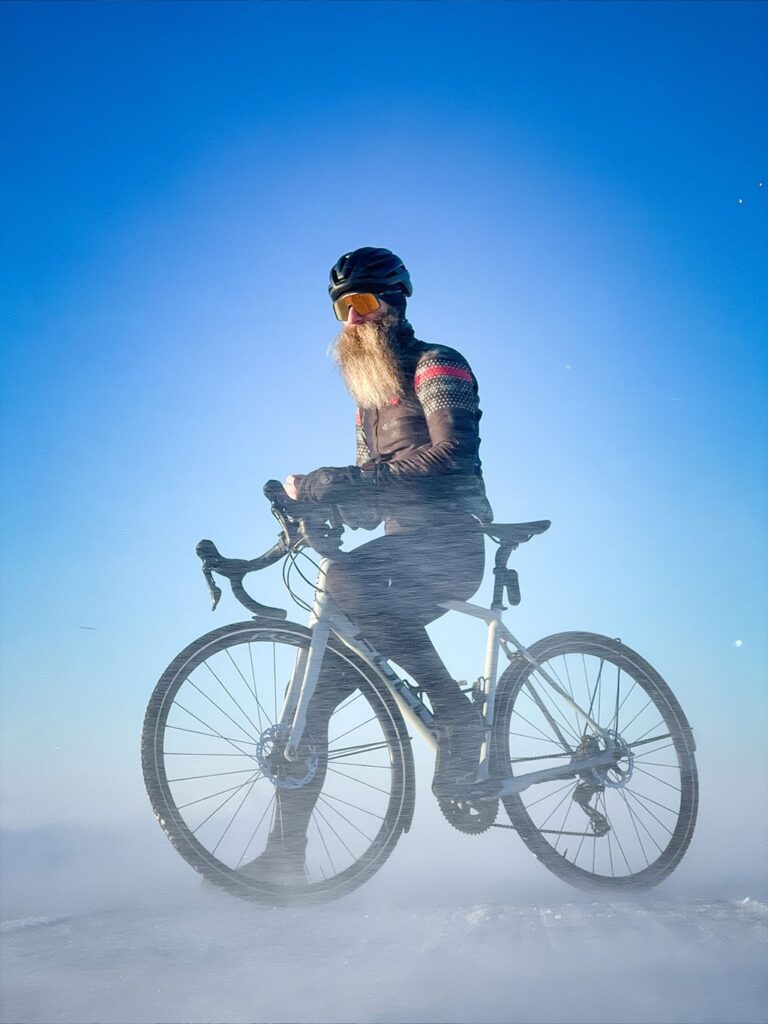
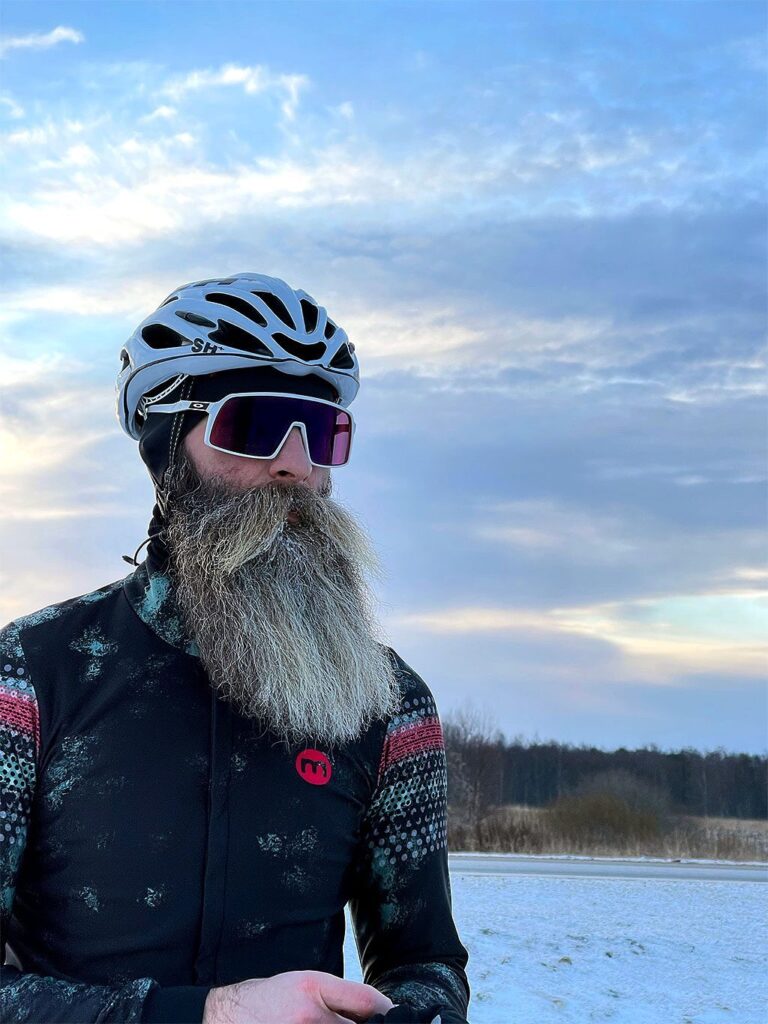
The aspect of visibility mentioned in the previous section also applies to clothing. There is not a lot of daylight in winter and it happens that the start or end of the ride happens in the dark. As there are fewer cyclists in winter, you must be visible in traffic. In such cases, brighter clothing and the importance of reflective details cannot be underestimated especially in cases when you might be off the bike taking a break or fixing a tyre.
Coming back to my clothes from 9 years ago, it is worth mentioning that I finally sent my old clothes to retirement at the beginning of last winter. The bib tights and jacket had lost their original functional properties and shape with countless washes and so many falls, and they already tended to look like a quilt. Over the years, the quality of new materials has also improved significantly. Currently, a single product covers a previous multilayer combination. This makes dressing much faster. It is more comfortable and easier to move the legs.
Gloves and cycling shoes.
The fingers and toes are the first to usually catch the cold. At temperatures below -10 ° C I use two pairs of gloves, thinner at the bottom and thicker at the top. Just in case, a couple of thinner gloves are included, just in case the bottom layer gets wet. This can happen if, in addition to cycling, you sometimes want to take out the camera. It will inevitably get snowy.
Winter cycling shoes are an investment that will definitely pay off. Summer shoes, warmer socks and a few layers of shoe covers can be done without trouble, but in the long they can get quite chilly and the wear to your summer shoes could be costly. Shoe covers tend to wear out quite quickly, and they don’t protect as well from moisture and cold winds.
Like summer riding shoes, winter variants are generally of two types – for road or off-road pedals. In any case, in our circumstances, the latter should be preferred, purely for the sake of keeping the sole better. They could definitely be waterproof.
Mandatory winter wardrobe
Dressing habits are developed according to one’s own experience, riding style and tolerance to cold. What is a suitable combination for one may not be suitable for another. Winter clothing is often used with existing clothes (such as ski clothing) that are good enough to start with, but will not make your winter ride enjoyable in the long run. Here are some of the basic products I use for my winter trips:
- Thermal baselayer, such as a merino winter undershirt or windproof undershirt
- Termotagi or Riparo jacket that protects against winter weather
- A decent rain jacket in case of rain (or just in case)
- Decent Winter Pants or Thermal Pants
- Merino socks
- Winter boots and winter gloves (several pairs if necessary)
- Warm hat under the helmet
- Merino scarf
Tip: Combine the last two products so that you can put the edge of the scarf between your hats before putting on your helmet. So covering the small areas where the wind starts to leak in unpleasantly cold air. Covering my face and nose is something I didn’t need, but it’s easy with this combination or (ski) mask.
More important than having special cycling clothes is the ability to choose and combine clothes correctly so that no cold is blown anywhere, strategic body parts are protected and at the same time they do not change. One of the keywords in winter clothing is breathability and the skillful removal of excess body heat away from the body. When riding in winter, it is extremely important that the moisture content of the fabric is kept to a minimum. As mentioned earlier, even a short stop can cause cold to start quickly.
The following is an overview of my choice according to the temperature (for temperature fluctuations, precipitation and wind and unexpected stops, I usually take a raincoat along in my pocket):
Dressing and temperature tolerance are very subjective, there is no one formula that suits everyone. Winter rides give a fairly quick indication of what worked and what did not, you just need to be able to notice these things and draw conclusions for next time.
Tips for beginners
It is not worth taking a long ride to start, especially if you have no previous experience. The experience of skiing and running cannot be transferred to one or the other, because the speeds are higher when sitting on a bike and the upper body is in a predominantly static position. At first, you could try to calmly see how your body behaves in such conditions for 30 minutes to an hour near your home. Riding will certainly be easier if done consistently, and in a couple of weeks the cold should have less of an impact.
Depending on the temperature and weather conditions, you could think about your approximate trajectory in advance, keep someone close to you safe, and share the location in real time if possible.
I honestly admit that warm-up exercises and stretching have never been my topic, but it would certainly be more sensible before a riding cold.
The tire pressure should be adjusted according to the road conditions. In snowier and icier conditions, you could ride at a lower pressure for better grip. On drier roads, higher pressure ensures lower rolling resistance.
Riding technique is very subjective. Otherwise I ride with a lower cadence, in worse conditions like thick snow, with a lighter pedal stroke. Sudden manoeuvres also end in sudden falls.
Eating and drinking depends a lot on the individual so I would not give a specific recommendation here. However, I have noticed in my case that the colder the weather, the less I consume. In general the rule is the opposite for winter trips – take more food and drink than during summer trips. The hot drink brought with you in the thermos can be especially helpful in unexpected situations, if you can’t continue on and have to wait.
Technical problems still arise, no matter how well your equipment is maintained. Therefore, in colder weather, you should be able to ride within a radius where help can be reached as quickly as possible. While waiting, the body should be kept in constant motion to prevent hypothermia.
Riding in winter is quite often cold, wet and quite self-sufficient, but once you get into it, there is no going back.
We hope that Rait’s story and suggestions gave you the enthusiasm or at least new ideas for your next winter ride. If you have any further questions for Rait, please contact him via Instagram.
You can read about Rait’s winter clothes and buy them via the link below. Rait made a great contribution to the creation of our new product, Thermal Trousers, with his experience and testing.
@crazy_scandinavian | Instagram Rait Nurm | Strava